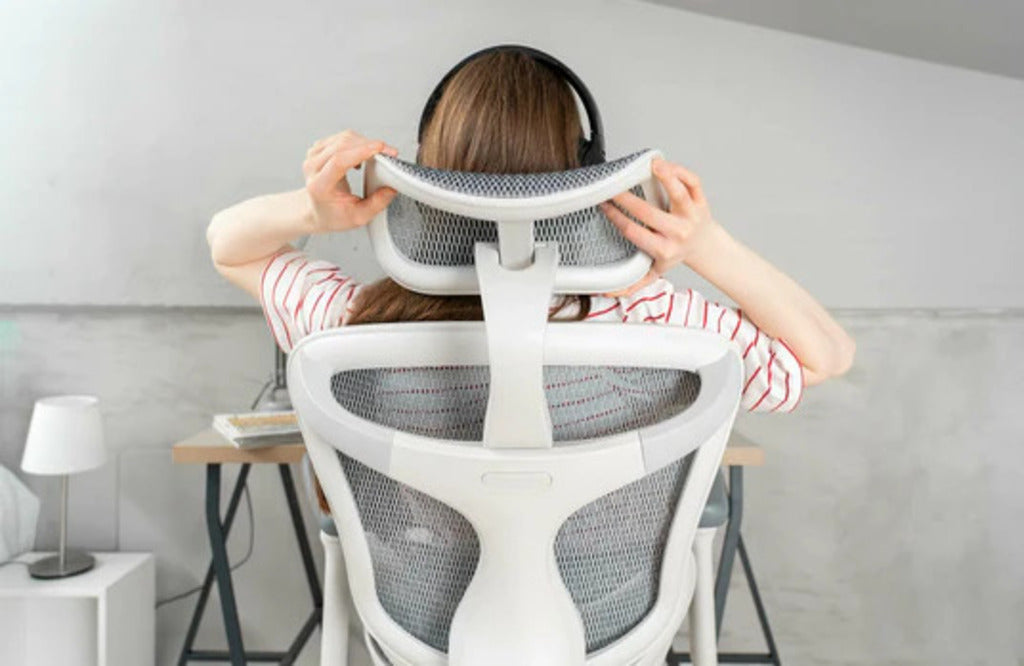
Most office chairs have 3-5 adjustment levers, typically on the right side under the seat. Spend 30 seconds locating:
- Height lever (usually the largest)
- Backrest tilt and lock
- Seat depth slider (if available)
- Tension control (often a knob)
- Armrest buttons (on the armrests themselves)
Test each control to understand its range before making adjustments.

The Core Adjustment Sequence (5 minutes)

Step 1: Check for Seat Tilt (If Available)
If your chair has a seat tilt:
- Find the seat angle lever (separate from height)
- Tilt forward slightly (3-5 degrees)
- This opens your hip angle and reduces lower back strain
If no seat tilt:
- Skip to Step 2
- You can simulate this later with a thin cushion at the back of your seat
Step 2: Set Your Height
Adjust chair height so:
- Your elbows are at 90-110° when typing
- Shoulders stay relaxed (not hunched up)
- Forearms roughly parallel to the desk
If your feet don't reach the floor after this, that's normal—we'll address it in Step 5.
Step 3: Adjust Seat Depth
If your chair has a seat slide:
- Slide the seat back until it touches your lower back
- Move forward until 2-4 fingers fit between the seat edge and the back of the knees
- Lock position
No seat slide? Use a back cushion to bring yourself forward if the seat's too deep.
Step 4: Position Your Backrest
Angle:
- Lean back to a comfortable position (typically 100-110°, not bolt upright)
- Lock the backrest here
- Adjust the tension so it supports without pushing you forward
Lumbar support:
- Place your hand on your lower back, find the natural curve above your belt line
- Adjust lumbar height to support this spot
- Should feel supportive, not pushy

Step 5: Final Adjustments
Feet:
- If they don't reach the floor comfortably, use a footrest
- Even a sturdy box or stack of paper works temporarily
Armrests (adjust in this order):
- Height: elbows at 90-110° with shoulders relaxed
- Width: just clearing your hips
- Depth: supporting forearms when typing (if adjustable)
- Still blocking desk access? Lower them fully
- Last resort: remove if they can't be made to work
Document your settings or take a photo before removing armrests.
Quick Diagnostic: Fix Problems in Real-Time
After working for 30 minutes, check:
SymptomQuick Fix
Shoulders creeping up , Lower chair 2-3cm, OR lower armrests
Lower back aching, raise lumbar support, OR add a small cushion
Sliding forward, increase backrest tension OR check seat tilt
Legs going numb, reduce seat depth, OR lower chair slightly
Neck straining forward, pull the monitor closer, OR raise the chair
The 2-Hour Checkpoint
After 2 hours of work:
Still comfortable? Your setup is good.
Specific discomfort? Use the diagnostic table above for targeted adjustments.
General fidgeting? This is normal—your body wants movement. Stand and stretch, but your base setup is likely fine.
Different Desk Situations
Fixed-Height Desk
- Prioritise arm/shoulder comfort
- Use a footrest if needed
- Consider a keyboard tray if the desk is too high
Adjustable Desk
- Set desk height first
- Then adjust the chair to match
- Ideal: elbows at 90-110° with feet flat on the floor
Hot-Desking
- Arrive 2 minutes early for adjustment time
- Keep a note of your ideal settings in your phone
- Focus on height and lumbar—skip perfectionism
Advanced Features (If Your Chair Has Them)
- Synchronous tilt mechanism: Backrest and seat tilt at different rates. Better ergonomic office chairs let you adjust the sync tension separately for personalised support.
- Seat edge flexibility: Some chairs let you adjust the front edge firmness. Softer helps shorter legs; firmer suits longer legs.
- Forward tilt lock: Lets you rock forward but stops at a preset angle—proper for detailed desk work.
Morning Reset (30 seconds)
Each morning, quickly check:
- Height (clothing thickness varies)
- Lumbar position (may have shifted)
- Tension (loosens over time)
Signs Your Adjustments Are Working
✓ You forget about your chair during work
✓ No specific pain points after 4 hours
✓ Natural breathing (poor posture restricts breathing)
✓ Can easily shift positions when needed
Remember the Ranges
Forget rigid 90° angles. Healthy ranges are:
- Elbows: 90-110°
- Hips: 95-110°
- Knees: 90-130°
Key principle: The best position is one you can change easily. Your adjustments should support movement, not lock you in place.
Final thought: A basic chair adjusted properly beats an expensive chair set wrongly. Spend 5 minutes on setup today to save yourself months of discomfort.
FAQs
Should I adjust my chair differently for different tasks (typing vs reading vs video calls)?
Yes, slight adjustments help. For typing, maintain the standard setup. For reading, lean back 10-15° more to reduce eye strain. For video calls, raise your chair slightly so the camera is at eye level, preventing "looking down" angles. Many ergonomic chairs have memory settings for these different positions.
How often should I replace my office chair, and what are the warning signs?
Quality office chairs last 7-10 years with daily use. Replace when: the gas cylinder won't hold position for more than an hour, the seat cushion is permanently compressed over 3cm, the mechanisms feel loose despite tightening, or persistent discomfort despite proper adjustment. Don't wait for complete failure—gradual deterioration affects your posture without you noticing.
My company bought expensive ergonomic chairs, but I'm still uncomfortable. What's wrong?
Even premium ergonomic chairs need proper adjustment—they're not "one size fits all." Additionally, the chair might not suit your body type (some brands run large/small), or you may need accessories like lumbar rolls or seat cushions for fine-tuning. Book time with your facilities team or request an ergonomic assessment—most UK employers must provide this under DSE regulations.


